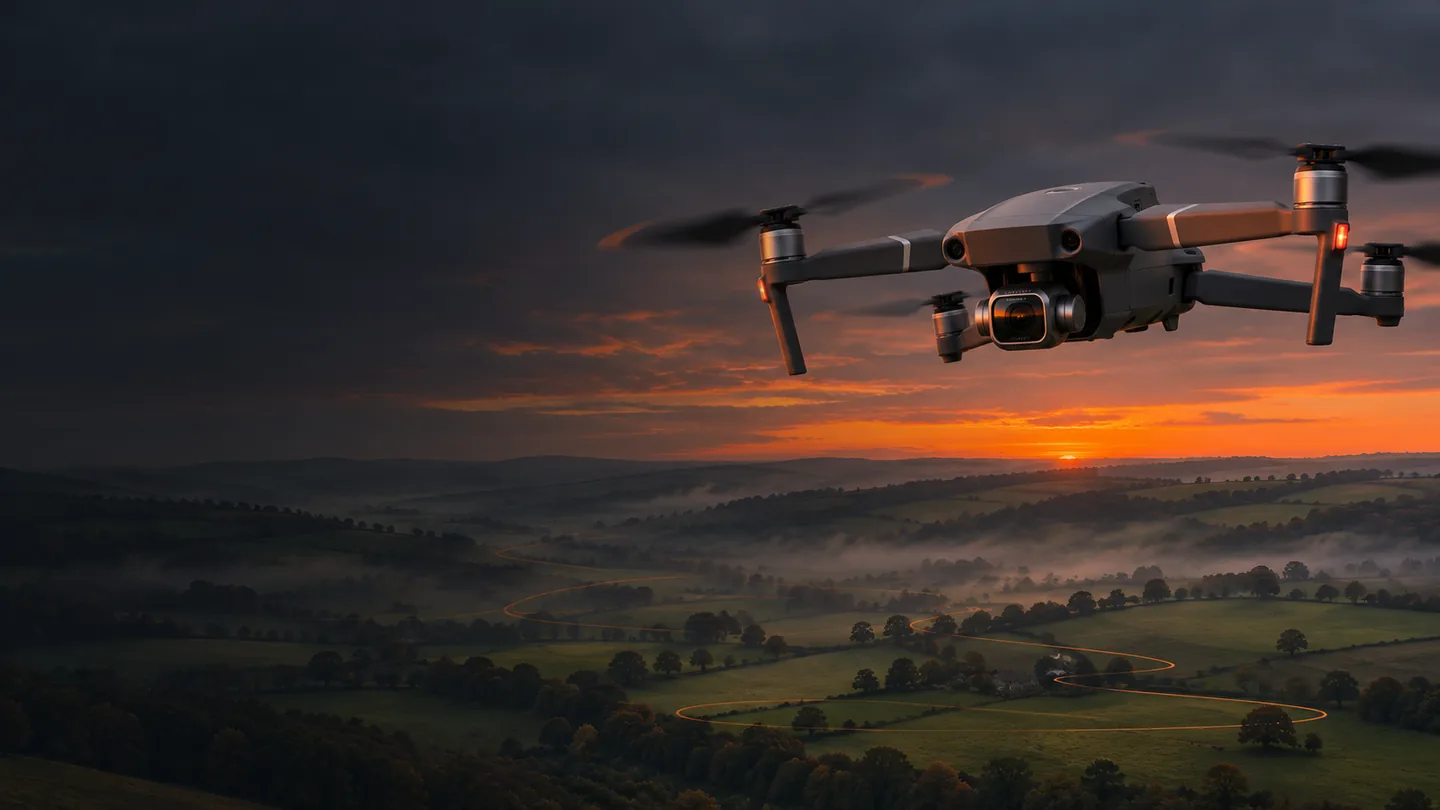
Enter a rectangular test field and explore the trade-offs. The calculator uses the Mavic 2 Pro’s nominal still-camera geometry and supported timed-photo intervals. It deliberately flags an impossible capture cadence instead of pretending the aircraft can take a photograph whenever the mathematics would like one.
MISSION GEOMETRY / LIVE
Plan your field.
Nominal height: 85.1 m.
RESOLUTION ≠ ACCURACY1.88cm / pixel
102.9 × 68.6 m ground footprint
7flight lines
147estimated photos
8.0minutes incl. allowance
2 sJPEG capture interval
Interval meets the target: approximately 85.4% forward overlap.
3.00 ha · 1.55 km nominal route · line spacing 25.0 m · maximum interval for the requested overlap 2.74 s.
No battery endurance guarantee. Split the mission if the tested reserve, visibility, terrain or image buffer requires it.
NIX FIELD NOTES
A useful estimate has visible assumptions.
The model uses a 13.2 × 8.8 mm sensor, 10.26 mm focal length and 5472 × 3648 uncropped stills. Height is above the level photographed surface, with the camera at nadir and its long image edge across the flight line. It does not read terrain, airspace, obstacles, wind or an actual aircraft battery.
How the workshop estimates the 200 × 150 m example
Quantity
Method
Default result
Area
Length × width
3.00 hectares
GSD
Footprint width ÷ image width
1.88 cm per pixel at 80 m
Footprint
Height × sensor dimension ÷ focal length
102.92 × 68.62 m
Lines
ceil(field width ÷ desired side spacing) + 1
7 lines, both boundaries included
Capture interval
Largest supported interval no longer than the calculated maximum
2-second JPEG at 5 m/s
Images per line
ceil(length ÷ speed ÷ selected interval) + 1
21
Estimated photographs
Lines × photographs per line
147
Route distance
All straight rows + cross-field connections
1,550 m
Estimated time
Distance ÷ speed + 8 seconds per turn + allowance
About 8.0 minutes including 120-second allowance
Image centres run to both field boundaries in this conservative model. Parts of the footprint therefore extend outside the rectangle: ensure the photographs and flight remain lawful and appropriate. The final line spacing is shortened to fit evenly. The diagram simplifies very dense grids for readability; the displayed totals still use all calculated lines.
The interval chooser rounds towards a faster supported capture rate to meet overlap where possible. If even the shortest supported interval is too slow, the result remains visible with a warning and a maximum suggested speed. The count assumes a photograph at the start and near the end of each line. Camera timing, waypoint resets and turn behaviour can change the actual count—inspect a test strip.
Three experiments worth trying
Raise the height from 60 to 100 m. Watch the footprint grow and the image count change. Ask whether the finest feature you need will still occupy enough pixels. Stay inside the applicable height limit and terrain constraints.
Change JPEG to RAW at 80 m and 5 m/s. The minimum five-second interval cannot maintain 80% forward overlap. Reduce speed to 2.7 m/s and see the interval warning clear, while estimated flight time rises.
Increase both overlaps. More photographs can improve redundancy, but increase flight time, storage and processing demand. For moving crops, improve conditions and capture strategy as well as simply collecting more frames.
The inverse GSD field answers a different question: “What nominal height produces this pixel size?” It displays the mathematical height even when it exceeds the ordinary Open-category limit, then marks that conflict. A desired resolution is not permission to fly at the computed altitude.
NIX FIELD NOTES
One project, from Mac to field and back.
On the Mac: establish the plan
Create a dated project folder and a one-paragraph objective. Use Hub to lay out the real, inspected operating area; use this calculator to challenge the capture settings. Record which camera format, height reference and speed you chose. Save a mission version and keep a screenshot or export of the plan for your own records. The downloaded NIX brief is plain text, deliberately separate from any flight-control format.
On the iPhone: confirm what will actually happen
Use the original Litchi for DJI Drones app with the same account. Open the saved mission and check the values rather than relying on its name. Connect the actual Mavic 2 Pro and confirm compatible camera settings. Plan for weak mobile reception by opening and checking the mission and necessary map area before leaving reliable connectivity.
At the field, the real-world inspection takes precedence over the desk plan. Confirm people and airspace conditions, take-off permission, aircraft health, home point and recovery options. Run the small test, check the saved photographs, then commit to the larger capture only if the evidence supports it.
Back on the Mac: preserve and evaluate
Copy from the card with a reader, keeping original file names and metadata. Make a second copy before editing or processing. Note image gaps, changed settings and interrupted runs. Start WebODM with a manageable coherent dataset; review the quality report and reconstruction before exporting. Load the georeferenced GeoTIFF in QGIS for interpretation and carefully described measurements.
A repeatable workflow is mostly good housekeeping. The file that explains the mission version and light conditions may be more valuable six months later than another beautifully sharpened preview.
NIX FIELD NOTES
A calm departure starts here.
0 / 15 checked
Saved on this device when browser storage is available. A planning aid, not flight authorisation or a replacement for your operational checks.
NIX FIELD NOTES
The pilot is still in command.
A beautifully drawn route is a proposal. Walk the site, identify people, wires, livestock, changing terrain and recovery areas, and decide whether the flight belongs there at all. The aircraft’s sensors do not certify a safe route. Maintain direct visual line of sight and the applicable 120 m limit from the nearest earth surface; an automated mission does not permit BVLOS.
Legacy aircraft, current rules
The 907 g Mavic 2 Pro needs a Flyer ID and Operator ID, with the Operator ID displayed on the aircraft. Under current UK rules, a legacy aircraft under 2 kg may use A2 with an A2 CofC, keeping at least 50 m horizontally from uninvolved people and avoiding intentional overflight. Otherwise A3 requires at least 50 m from uninvolved people, with greater separation where needed, and at least 150 m from residential, recreational, commercial and industrial areas. Do not apply the closer UK2/C2 distances to this unclassed aircraft.
Permission is part of planning
Check current restrictions and NOTAMs; obtain the relevant aerodrome permission for an FRZ. Arrange take-off and landing permission, respect privacy and plan around public paths. Business or agricultural work needs compliant third-party insurance even if that particular flight is unpaid. If the Open category cannot accommodate the operation, obtain the appropriate authorisation.
For legacy camera aircraft of this weight, the current Remote ID deadline is 1 January 2028. Do not assume an old firmware update makes the Mavic 2 Pro compliant. Check the CAA’s current guidance as that date approaches.