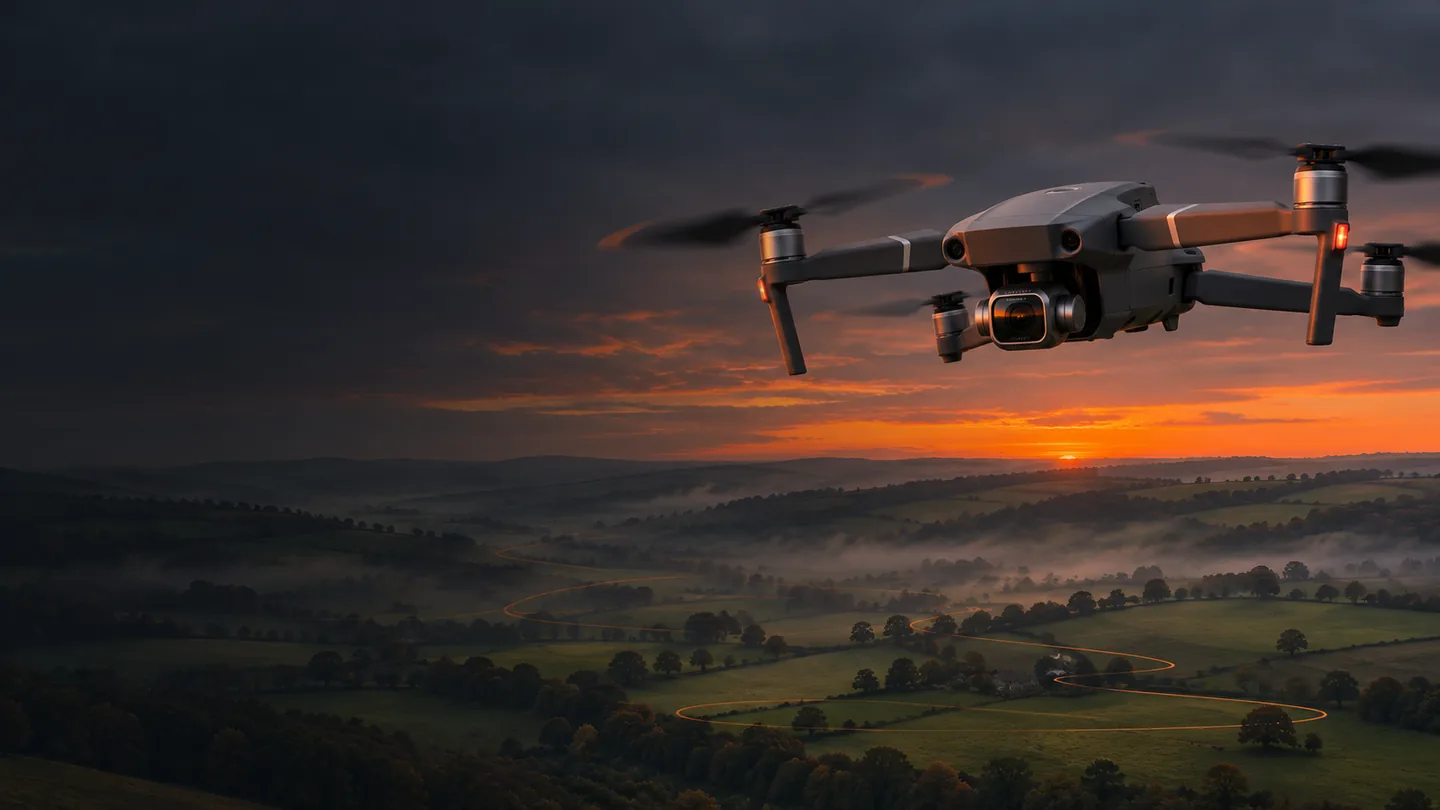
Think of the route as a railway and the camera as a passenger who can look in a different direction. Moving north does not require looking north. A rising aircraft can keep the camera pointed down; a sideways track can hold a distant building in the frame. Once you separate position, orientation and framing, the mission becomes a piece of direction rather than a string of pins.
Start with a sentence: “Reveal the valley beyond the foreground field, then drift across its shape.” That sentence tells you what to leave hidden, when to introduce the horizon and where the viewer’s attention should go. Place only enough waypoints to express those decisions. Twenty nearly identical pins can be less elegant than seven well-chosen ones.
Open the new Litchi Hub on your Mac. Sign in, create a named flight and select the Mavic 2 Pro with the original Litchi flight-app path. Check that the aircraft/app selection remains correct when experimenting with mission templates.
Locate and inspect the site. Use the map and 3D view for orientation. Check ground height against the proposed take-off point. Mark the subject and the intended working area. Satellite photographs can be old: a clear field on screen may contain a crane, temporary fence or gathering today.
Build the positional route first. Add the start and finish in clear air, then the intermediate points. Enter metres consistently, check the altitude reference and inspect each connecting leg. The aircraft travels through the space between pins, not just the pins themselves.
Add the camera story. Choose a deliberate heading and gimbal strategy, then test the visual transition between each pair of points. Make the widest yaw or tilt change over the longest appropriate segment, so the movement has time to settle.
Save a version you can recognise. A useful name is “Valley reveal / v03 / 55 m plateau / 19 Nov”. Open the saved mission in the original Litchi for DJI Drones iPhone app, signed into the same account. Verify the actual saved values, then confirm the mission remains available before relying on poor field reception.
Connect and inspect. Close competing DJI apps, connect the controller to the iPhone and check the aircraft connection in Litchi. Recheck the loaded mission, camera, home point and recovery settings at the launch location. Do not assume a successful browser save proves a complete aircraft setup.
NIX FIELD NOTES
Five controls. One continuous thought.
Position & altitude
A waypoint supplies a place and a height. Ordinary mission altitude is referenced to the take-off location, so rising land reduces ground clearance. Hub’s terrain tools can help plan heights, but neither a terrain model nor an altitude readout measures wires, tree crowns or a newly parked machine.
Heading
Heading is the direction the aircraft faces. Choose travel-direction behaviour for a straightforward forward journey, or Custom headings for a directed yaw. Check the shortest turn between angles, especially around 0°/360°. A large yaw change in a short leg can feel like a swivel rather than a cinematic pan.
Gimbal pitch
0° looks at the horizon; −90° looks down. Interpolate connects compatible pitch settings between waypoints. Focus POI instead frames a selected target, using its position and height. Start with one approach and understand it before mixing modes across the route.
Speed
Speed creates rhythm and determines how much time a tilt or yaw has to happen. Begin slowly enough to monitor the aircraft and judge the frame. A near foreground object appears to move much faster than a distant hill, even at the same groundspeed.
Curves
Curved turns trade exact pin visits for a flowing path. A large curve can cut inside the route you imagined and shorten the timing. Inspect the complete arc, then reduce the radius near constrained space. A smooth line on screen must still sit inside a genuinely clear flight volume.
POIs
A point of interest is a framing target, not an obstacle warning or landing instruction. Set its height thoughtfully: the base of a tower and the clock face are different targets. Review the first approach and the final departure as carefully as the orbit-like middle.
Ordinary live gimbal control can depend on the radio link; native DJI interpolation is a separate supported setting, not a promise that Focus POI runs entirely onboard. Check the actual app options and test them. Onboard route storage is useful, but signal-loss behaviour must never become an excuse to plan outside visual line of sight.
A natural UK editing baseline. Mavic 2 Pro supports 4K up to 30 fps, not 60.
Shutter
Around 1/50 s at 25 fps
A conventional motion-blur starting point. Use faster shutter when the subject or conditions call for it.
ISO / aperture
Low ISO; try f/4–f/5.6 in suitable light
Balance depth, sharpness and exposure. Avoid closing to f/11 merely to rescue an over-bright scene.
ND filter
Only as strong as the light requires
Use ND to manage exposure at the chosen shutter and aperture. Recheck after the light changes.
White balance
A fixed suitable Kelvin value
Stops the colour drifting between a green foreground and a warm horizon.
Colour / codec
Normal for a simple workflow; D-Log M for deliberate grading
10-bit D-Log M / H.265 needs a compatible edit and colour-management workflow. It is not an instant finished look.
Focus
Focus on an appropriate distant subject, inspect, then hold consistently
Check sharpness before the main pass. Avoid accidental focus changes halfway through a reveal.
Exposure check
Histogram, highlights and a short test clip
Protect important sky detail without making the landscape unusably dark. Check the recording on the card.
The first decision is the final edit. If the timeline is 25 fps, build the flight around footage you can use at normal speed. A slow-looking shot should mostly come from careful aircraft movement and subject distance. Conforming 30 fps material to 25 fps gives only a modest slowdown; it does not turn an abrupt move into an elegant one.
Keep the horizon level and leave space for the story to unfold. A beautiful reveal usually begins before the subject is obvious and ends after the frame has settled. Record a few extra seconds either side. Those editing handles make a clean transition possible and give music or natural sound somewhere to breathe.
For D-Log M, establish a consistent transform or colour-managed input in your editor before creative adjustments. Match exposure and white balance across the sequence, then shape contrast gently. Oversaturated fields and aggressively sharpened tree edges are a quick route to “drone demo”, rather than a film you would choose to watch twice.
NIX FIELD NOTES
The Grand Reveal. Five minutes, six acts.
This is a complete teaching storyboard for a broad, level, obstacle-free working area. It is not a route for Cannock Chase, a named farm or any other uninspected location. Coordinates below are local metres east/north relative to a chosen survey origin; they are not GPS positions and must not be pasted blindly into an aircraft.
The nominal path is about 461 m, staying within a roughly 150 × 150 m local box. Heights are relative to a level take-off datum. The five minutes cover the camera pass only: add take-off, transit, checks, return and landing. Segment speeds are derived from straight three-dimensional distance divided by shot time. Curves and aircraft dynamics alter the result, so treat the timing as an editing target and rehearse it.
GRAND REVEAL / SCRUB THE STORY0:00 / 5:00
The quiet opening
Hold a simple foreground texture. Let a field line lead the eye. Establish the move before asking the gimbal to reveal anything.
Height
30.0 m
Gimbal
-60°
Heading
0°
A teaching visualisation with linear interpolation, not Litchi’s flight engine, terrain simulation or an uploadable route. Exact timing changes with curves, acceleration, wind and camera behaviour.
Grand Reveal waypoint blueprint · local east, north, height in metres
WP / target time
E / N / height
Heading
Gimbal
Curve radius
Next leg nominal speed
1 · 0:00
−60 / −60 / 30
0°
−60°
0 m
1.00 m/s
2 · 0:30
−60 / −30 / 30
0°
−45°
8 m
1.56 m/s
3 · 1:30
−60 / 60 / 55
0°
−12°
12 m
1.50 m/s
4 · 2:30
30 / 60 / 55
60°
−18°
12 m
1.41 m/s
5 · 3:30
90 / 0 / 55
120°
−25°
12 m
1.96 m/s
6 · 4:30
0 / −75 / 65
180°
−8°
8 m
1.50 m/s
7 · 5:00
−45 / −75 / 65
180°
−8°
0 m
Finish / supervised recovery
Use Curved Turns, Custom headings and compatible Interpolate gimbal settings for this exercise. The speed column describes the outgoing segment’s target: verify how your installed app associates a waypoint speed with the adjacent leg, rather than assuming the table is an import schema. Do not add recording actions; begin the continuous recording manually. Use Hub’s view to judge whether the proposed headings actually frame your selected landscape, then adapt them.
ACT 1 / 0:00–0:30
The quiet opening
Hold a simple foreground texture. Let a field line lead the eye. Establish the move before asking the gimbal to reveal anything.
Climb into a widening view while easing the camera towards the horizon. Keep the climb in open air; never use trees as an obstacle to clear by guesswork.
Finish with a clean lateral drift and a stable horizon. Leave editing handles, then stop recording manually and return using the checked recovery plan.
Watch the joins, not just the spectacular middle. The climb should ease into the lateral move without a sudden gimbal correction. The yaw through the parallax segment should continue the viewer’s attention rather than pull it away. If the test clip shows a bob or snap, simplify: hold one pitch across the troublesome transition, reduce the heading change, lengthen the leg or separate the move into two shots.
The final film need not be five unbroken minutes. Keep a complete pass as a rehearsal record, then cut a concentrated sequence from its strongest moments. A restrained opening, a generous reveal and a calm finish usually communicate more than every metre of the flight. Nemesis is the camera operator, not the editor. Someone still has to be ruthless with the dull bits.
NIX FIELD NOTES
Rehearse. Inspect. Repeat deliberately.
Hub’s 3D and immersive previews help assess composition, camera orientation and pacing. Fly the virtual view from the beginning, including the approach to the first waypoint. Check whether the intended foreground actually leaves the frame before the horizon arrives. Simulated buildings, vegetation and terrain are incomplete models; they are not obstacle clearance.
The original app also has a connected-aircraft simulator. Follow Litchi’s instructions for that separate mode: it requires the aircraft connection, keeps motors stopped, and should be exited with an aircraft restart before a real flight. A convincing simulation does not validate the battery, wind, radio link, camera buffer or your recovery procedure.
Walk the site and choose a small, entirely visible test area. Review start, finish, emergency stop and return-home paths. Set the return height from the actual surroundings and legal limits—not a generic number copied from a blog.
Run a short section first, with generous clearance. Check camera framing and the physical response to the selected heading/gimbal options. Keep the aircraft in view and be ready to stop or recover manually.
Inspect the card for sharpness, horizons, exposure shifts and the moment each transition begins. Change one parameter at a time and save a new mission version.
For repeat visits, keep a record of the take-off position and elevation, route version, lens mode, exposure, sun direction and conditions. Consumer GNSS does not guarantee a pixel-identical path. Leave clearance for positional variation.
For seasonal comparisons, match the viewpoint and framing, then align carefully in the edit. A crossfade from summer green to winter structure can be beautiful; label the different dates rather than presenting it as one continuous flight.